


GO Map: Shareable Information
| How to Use the Shared Map | |||
|---|---|---|---|
| Top | Map Display Toggle | Sharable Information | Useful Features |
| About GO Raids Level | PUSH Notifications | Supported OS & Browsers | Reports & Fraud Prevention |
| User Registration | Contact Us | ||
Contents
Register and Edit PokéStops / Gyms / Power Spots
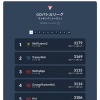
PokéStops, Gyms, and Power Spots are displayed using the icons below.
 PokéStop |  PokéStop Team Rocket / Kecleon Present |  Gym |
 EX Gym |  NO RAID Gym No Raids Occur |  Power Spot |
To newly register a PokéStop, Gym, or Power Spot, center the location on the map and select "Bottom Right + Icon → Desired Spot Icon".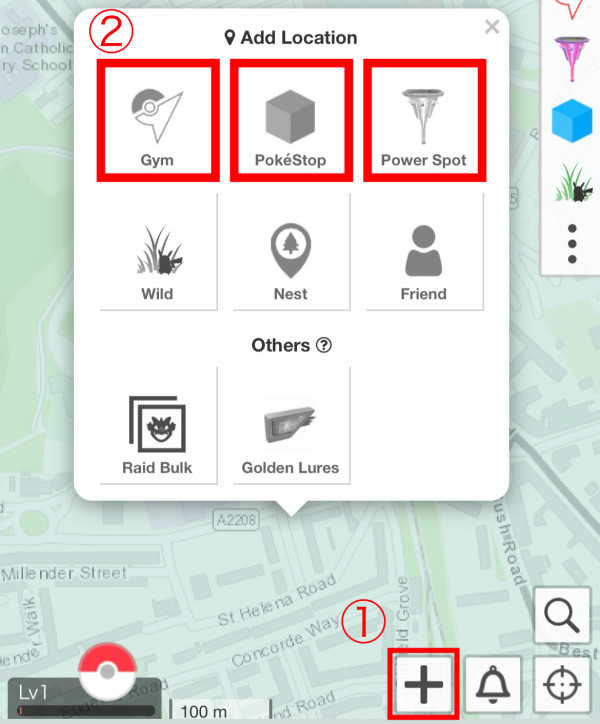
Note
Spot registration adds Gyms, PokéStops, and Power Spots that exist in Pokémon GO to the Go Raids map. This does NOT add them to the Pokémon GO app itself.
Editing existing spot information is available for Go Raids Level 6 and above. (How to level up: here) After selecting the spot, tap the edit icon.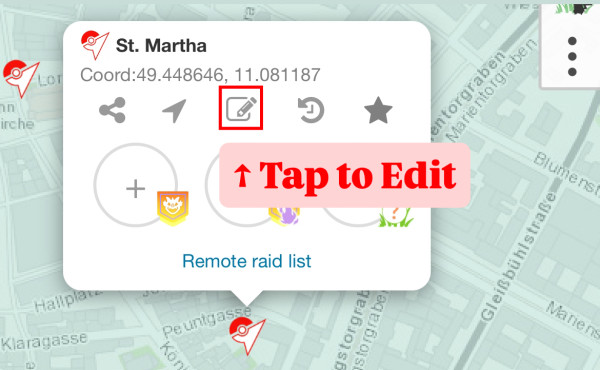
Below is an example of the Gym edit screen. To delete, tap "Report Gym Removal" at the bottom.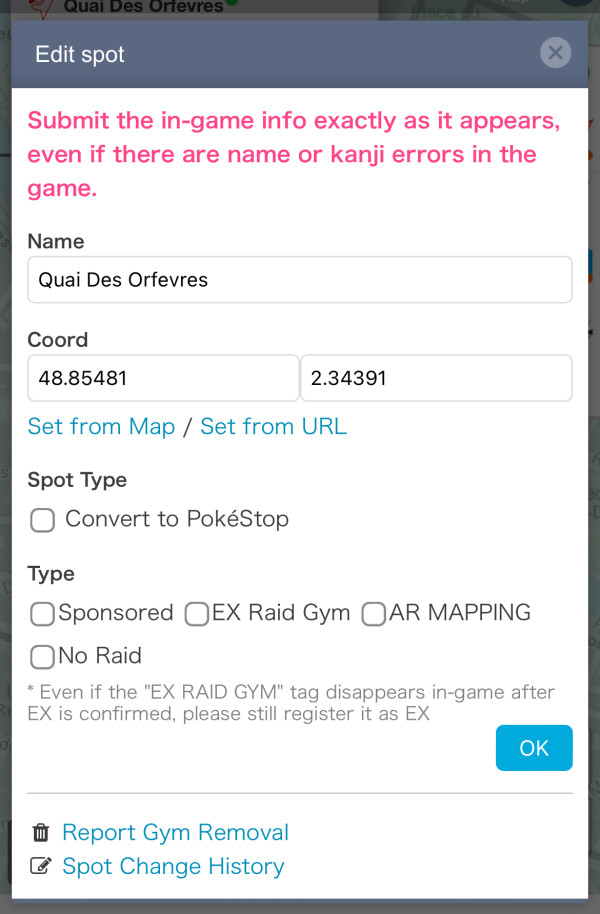
Spots you register or edit will go into application status. After a certain period, the application will be approved or rejected.
You can check your submitted spots and their status in the Journal. Regarding the Journal, please refer to the Advanced Settings section on this page.
By using a link from the Pokémon GO app, you can register the precise coordinates of PokéStops and Gyms. Accurate coordinates help determine their S2 Cell placement, which is useful when applying via Wayfarer.
The number of spots you can apply for is limited by your Go Raids level.
For details, see here.
Wild Spawns
Wild spawns are shown with a Pokémon icon surrounded by a circle, which gradually fades over time.
Tap the icon to view detailed IVs, CP, and report time.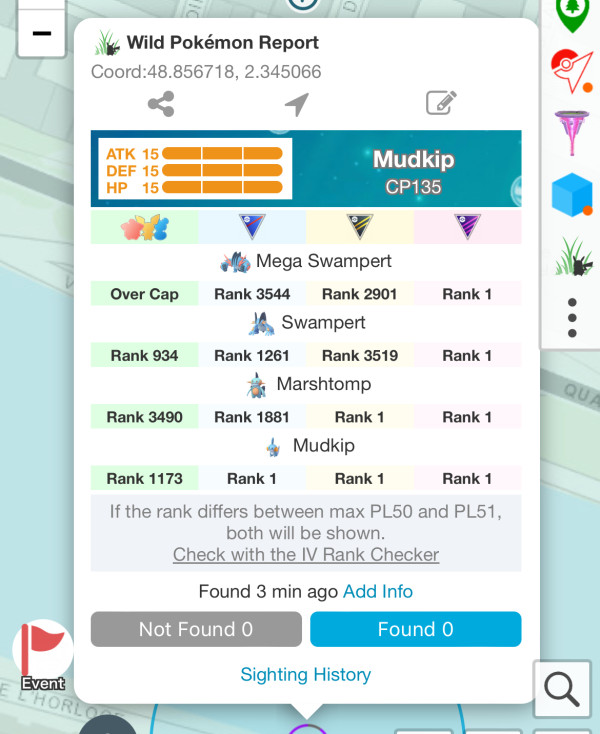
By selecting "Sighting History" at the bottom of the balloon, you can see a timeline of "Found" and "Not Found" reports to help judge if it’s still present.
Posting wild spawns is available for Go Raids Level 7 and above. (About Go Raids Levels: here) To post wild spawn info, center the map on the location and select "Bottom Right + Icon → Wild".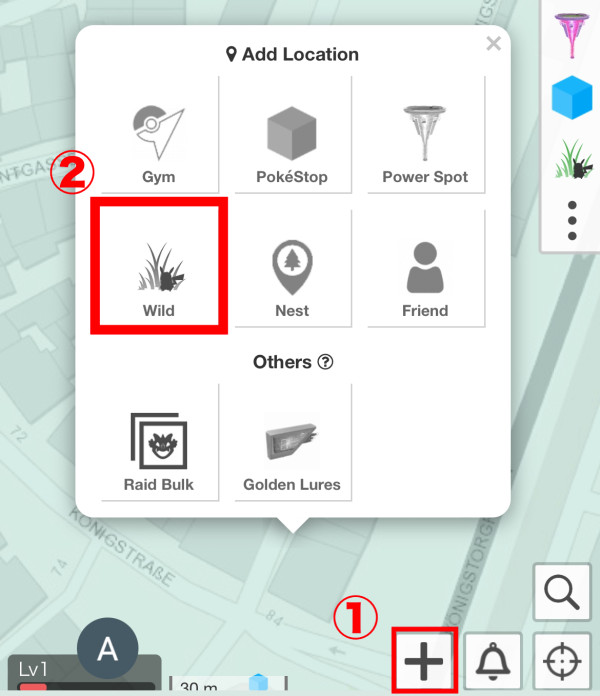
① Select the PokéStop on the map
Select the PokéStop where you want to post Field Research and tap the "Field Research Post Icon" in the balloon.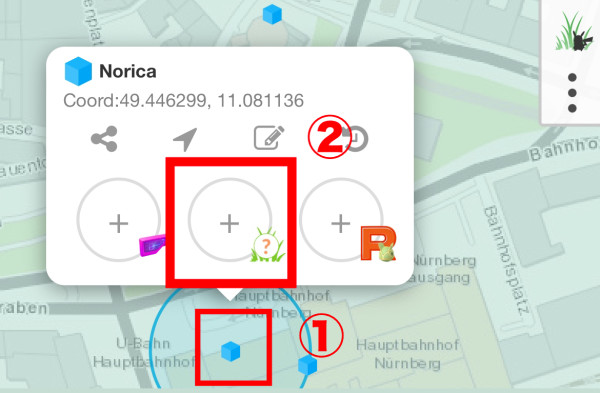
② Select Task and Reward
A reporting screen will appear. Specify the task and reward and tap the OK button.
When posting Field Research, be sure to select whether it is an AR Task.
What is Has AR Task / Not Has AR Task
Tasks with an Has AR Task mark are those you can get when spinning a PokéStop with an AR Scan Task. Not Has is for when you do not have one.
An AR Scan Task is a blue-bordered task from certain PokéStops and Gyms.
Whether you have this task can change what you get when spinning.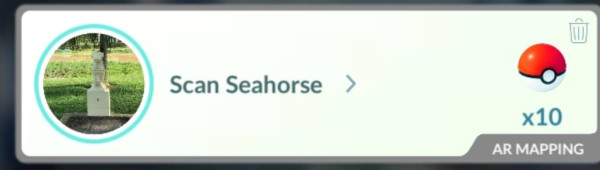
③ Confirm Display
Check that the Field Research is shared on the map.
Team Rocket / Kecleon / Lure
Team Rocket and Kecleon info is shown to the left of the "PokéStop Icon".
Tap the "PokéStop" to see Team Rocket details (Leader, type, used Pokémon).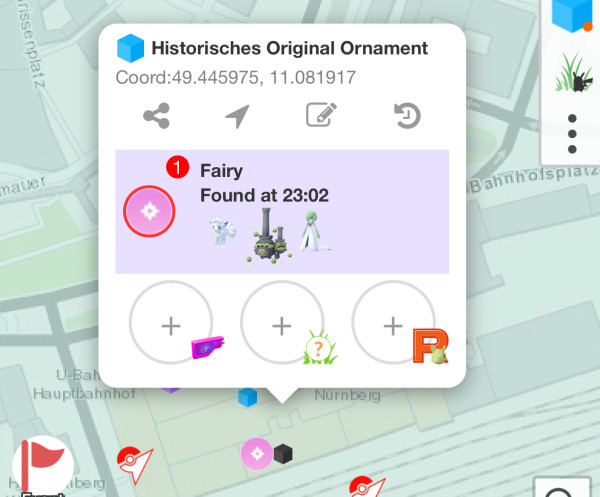
To post Team Rocket (or Kecleon) info, select "PokéStop → Team Rocket / Kecleon Post Icon".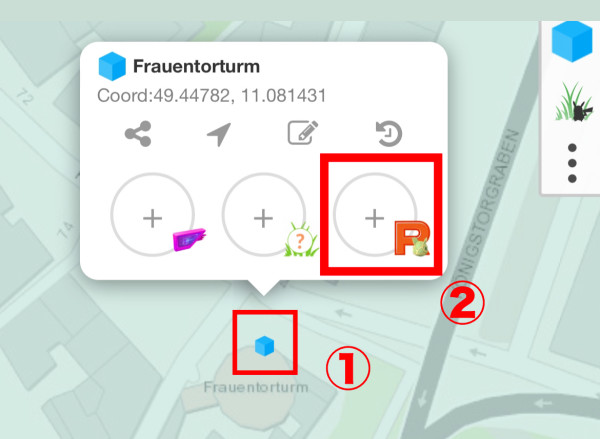
Lure info is displayed to the right of the "PokéStop Icon".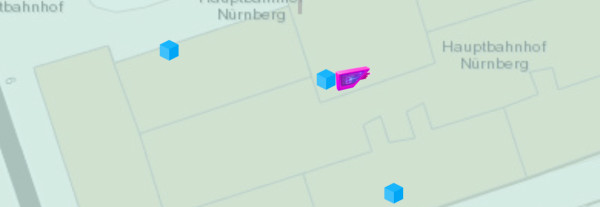
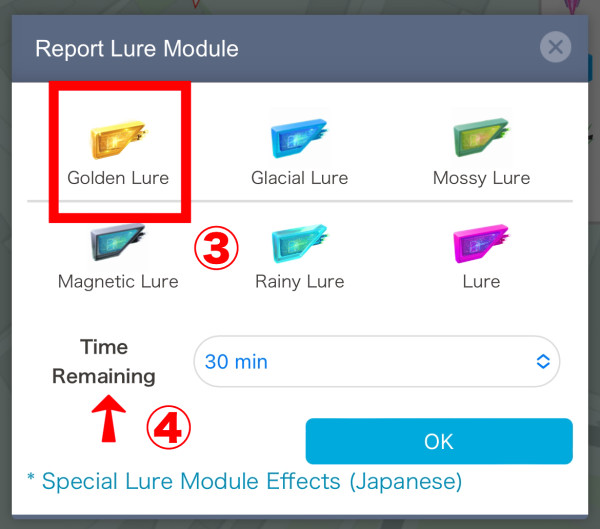
Select "PokéStop → + Lure → Golden Lure" to share Golden Lure info.
Golden Lures can only be obtained once every 5 days, so share and use them efficiently!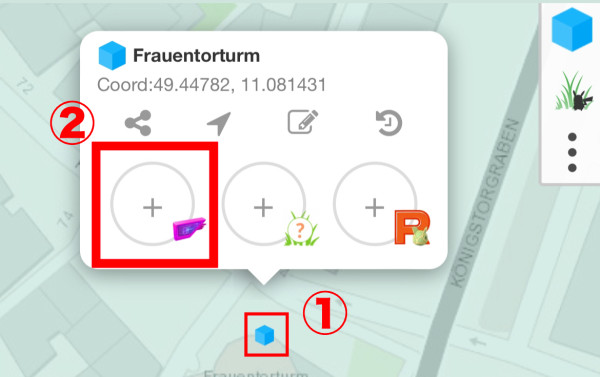
Tap the "PokéStop" to check details of the lure in use.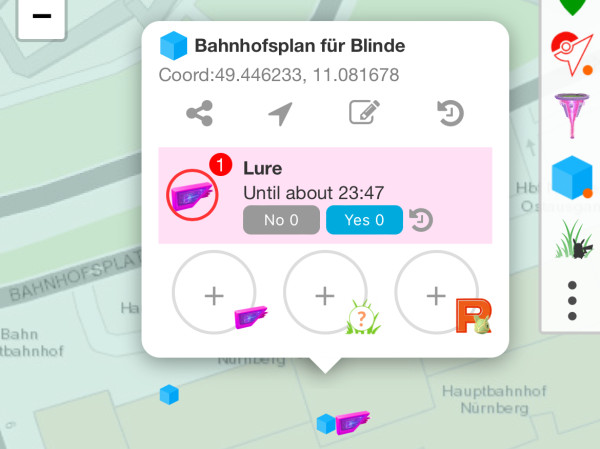
You can announce Golden Lure usage in advance. Since its effect lasts only 30 mins, pre-announcing helps share with more trainers.
① Tap "+" at the bottom right of the Shared Map
Tap the "+" icon, then select "Golden Lures" in the balloon.
② Select Usage Date & Number
Set the usage date and number of lures in the notice screen and tap OK.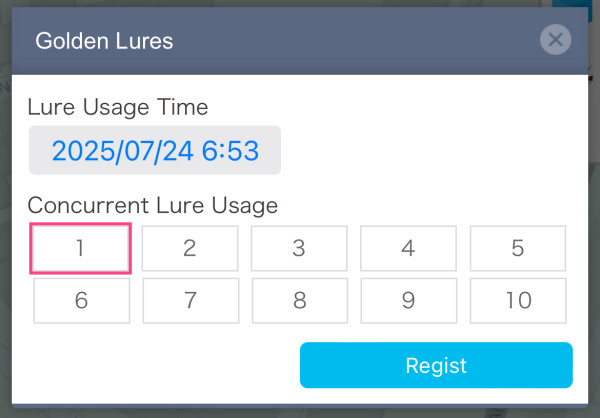
To receive notifications about Golden Lure notices and usage, select "Bell Icon at Bottom Right → Others" and set the lure notification range, then select Golden Lure.
Field Research
Field Research info is shown above the "PokéStop Icon".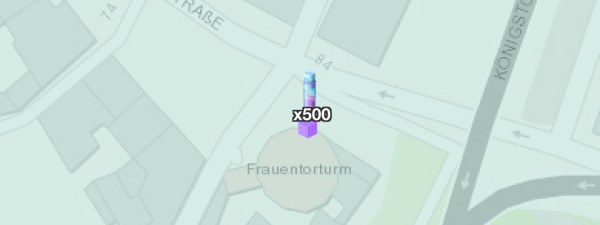
Tap the "PokéStop" to check details (task, reward, Has AR Task/Not Has AR Task).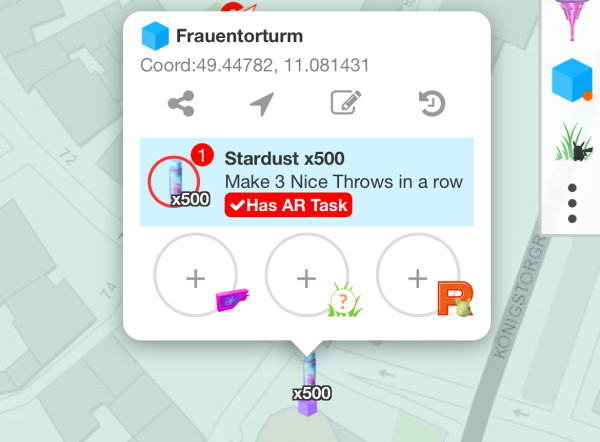
What is Has AR Task / Not Has AR Task
Tasks with an Has AR Taskmark are those you can get when spinning a PokéStop with an AR Scan Task. Not Has is for when you do not have one.
An AR Scan Task is a blue-bordered task from certain PokéStops and Gyms.
Whether you have this task can change what you get when spinning.
① Select the PokéStop on the map
Select the PokéStop where you want to post Field Research and tap the "Field Research Post Icon" in the balloon.
② Select Task and Reward
A reporting screen will appear. Specify the task and reward and tap the OK button.
Please refer to the tab above, "Displaying Field Research," for details on AR tasks.
③ Confirm Display
Check that the Field Research is shared on the map.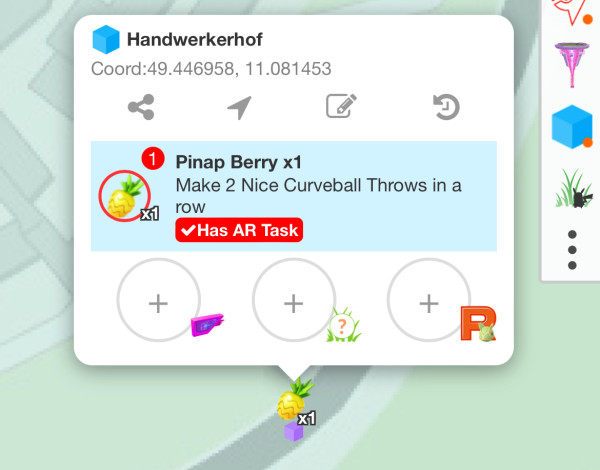
Showcases
You can report PokéStops hosting a Showcase. To report, check "Showcase" in Edit spot. (Editing PokéStops is for Go Raids Level 6 and above. How to level up: here)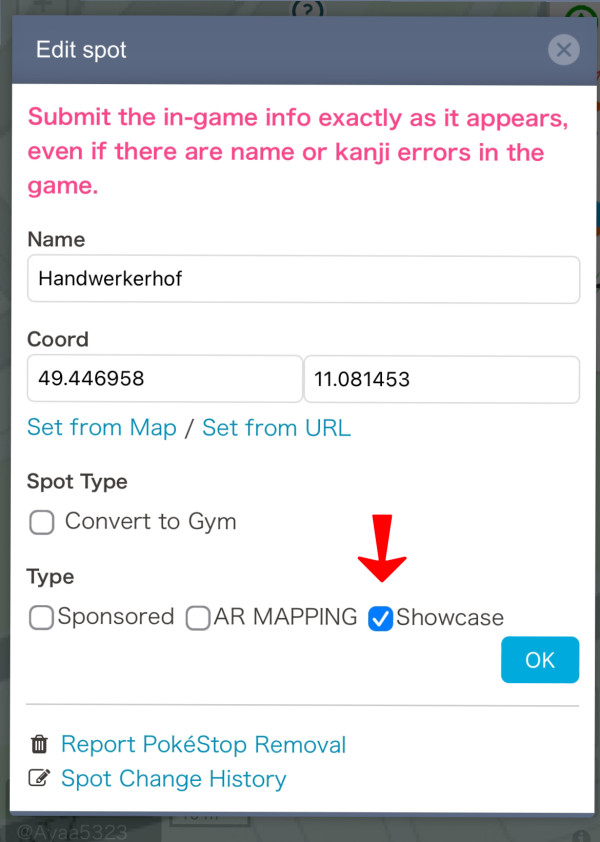
PokéStops with a Showcase will have marks like ① and ② below.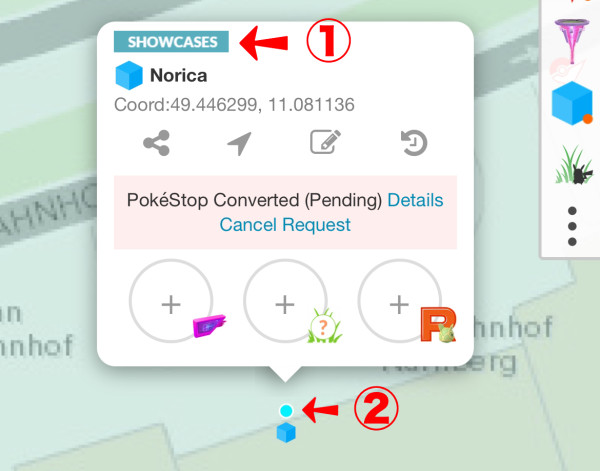
According to official announcements, Showcase PokéStops change each season, but since details are unclear, they are currently retained through season changes.
Showcase PokéStops display even in wide map view.
By toggling Field Research and other displays off via the icon at the top right, you can show only Showcase PokéStops. (About toggles: here)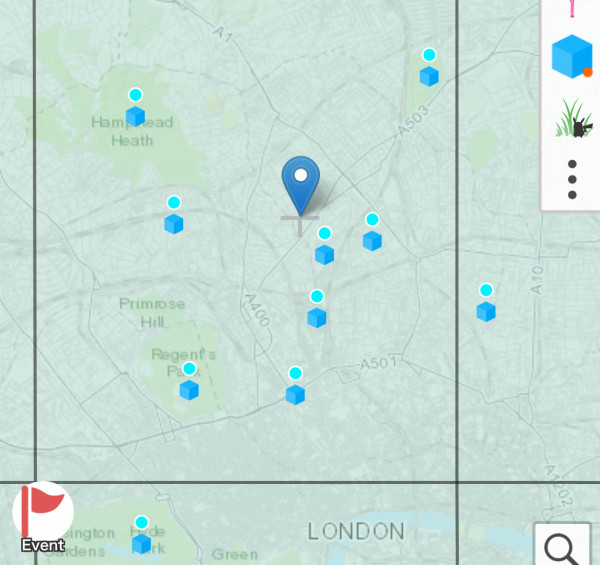
Raids
Raid info displays above the "Gym Icon".
Tap "Gym" to check raid details (Boss, Spawn Time, Moves, Gender).
※Moves and Gender only display if the poster specifies them.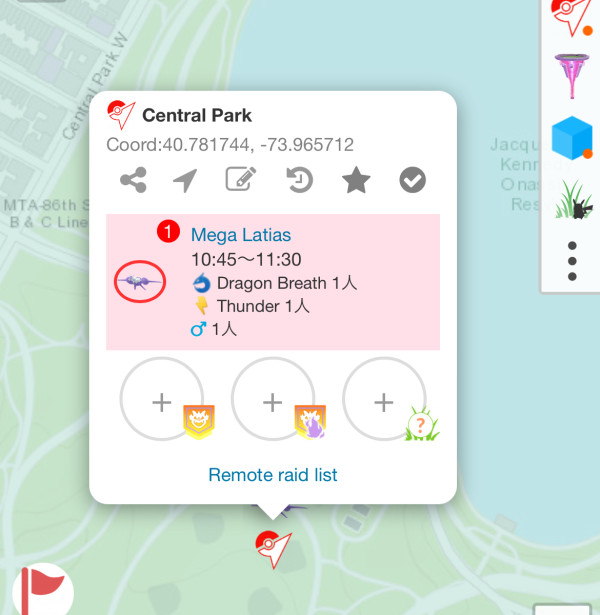
To post raid info, select "Raid → Raid Post Icon".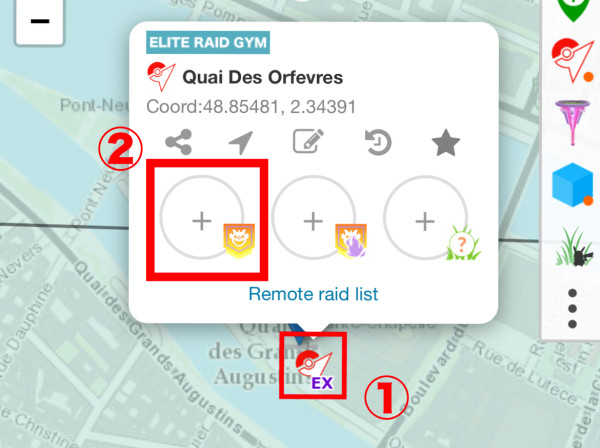
Pokémon Nests
Nest info displays above the "Nest Icon" (green icon).
Tap the nest to check details (Nest Pokémon, Spawns per Hour).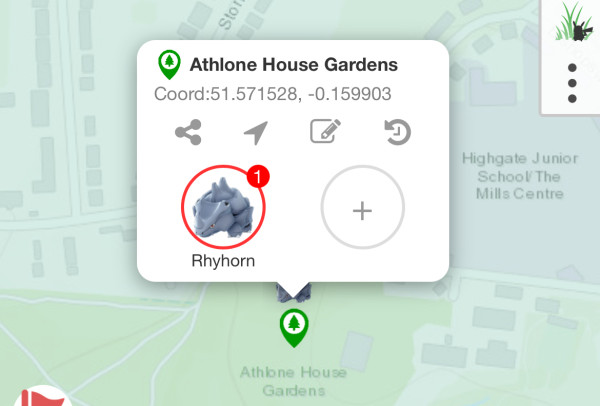
To post nest info, select "Nest → Nest Post Icon".
Nests with no Pokémon registered for a certain period are automatically removed from the map. Even if deleted, you can re-register them using the same method as Spot Registration.
Friends
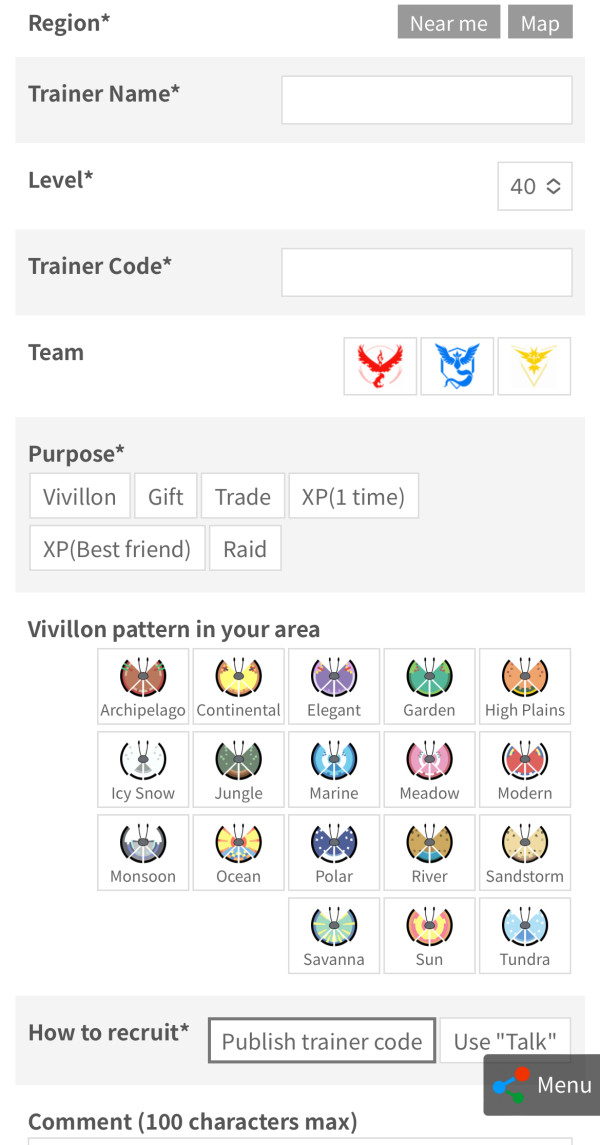
Friend requests display as a "Human Icon". The icon color matches the trainer’s team color (Red, Blue, Yellow).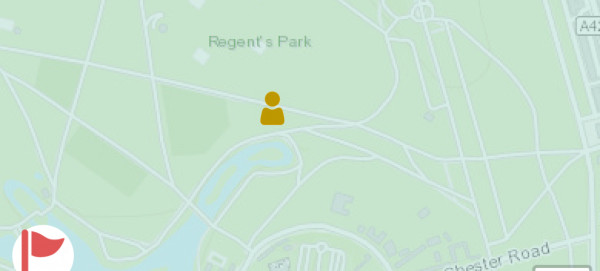
Tap the "Human Icon" to check friend details (Trainer Name, Code, Comments).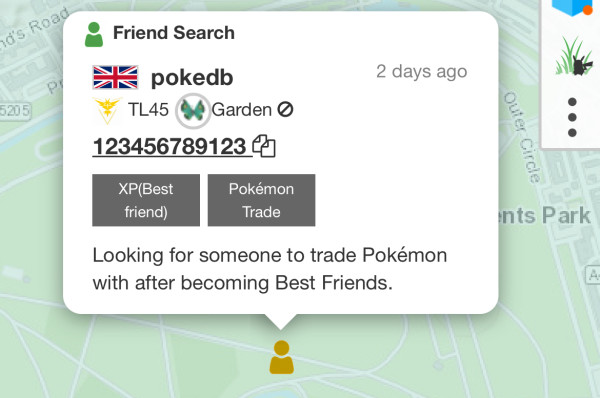
To post a friend request, center the map on the location and select "Bottom Right + Icon → Friend". Requires Go Raids Level 5 or above. (How to level up: here)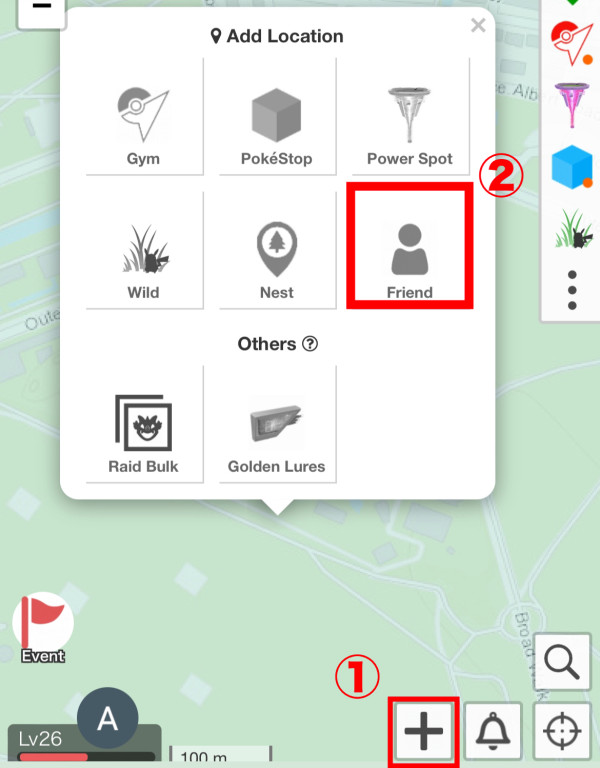
Friend requests display on the map for 10 days after your last Go Raids access. If they disappear due to inactivity, they’ll automatically reappear when you access again.


